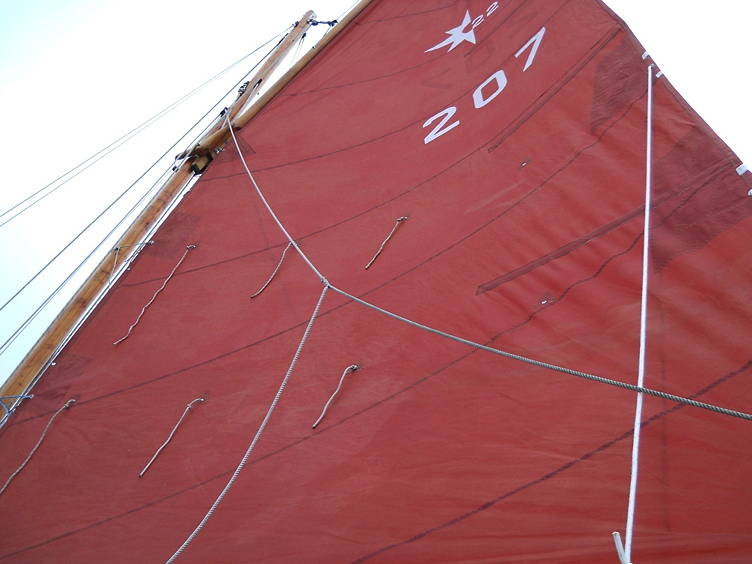
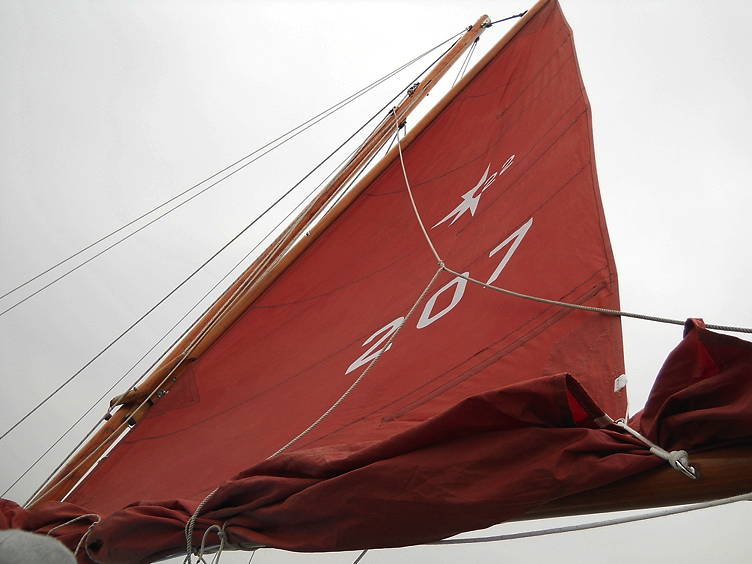
Westerly 22 slab reefing for Gunter rig
Before buying our Westerly we'd had several years experience cruising smaller boats. A Mirror dinghy, a Wayfarer and a standing lug Lune Pilot. All these boats completed passages quite a lot longer than one might expect of such small craft and all were fitted with home built slab reefing systems which work very well.
What we like about slab reefing is the way a sail can be stretched out flat to depower it. Most of the shape built into a sail is put in the bottom of it so when reefed the sail can be pulled almost as flat as a piece of paper.
Everything we read about the W22 roller reefing suggested it was a wonderful setup yet when we tried to get to grips with it we found it frustrating. The suggestion that reefing the sail can be done from the cockpit is a bit of a myth as it is necessary to go on deck and rearrange the lacing for each reef. We ended up doing all the reefing operations from the base of the mast.
The first reef (roughly down to the first batten) goes in quite well although wrinkles form along the foot of the sail allowing the sail to become rather full. For the next reef we lower the gaff until the gaff span saddle is riding at the top of the gaff span. The wrinkling of the foot of the sail is now much greater allowing the sail to set with a considerable belly. The gaff jaws pull away from the mast until the parrel line restrains them. As the gaff jaws pull away from the mast the belly in the sail increases further. We tried tying a line through the throat cringle and around the mast and this helped matters a little but controlling the fullness of the sail still seemed an insurmountable problem. We decided to start again.
The first job was to roll the sail up to our deep reefed position and mark the sail just above the boom at the luff and leech. We repeated this at the position of the first reef, just below the lowest sail batten. We took the sail to Dick Batt at Batt Sails to discuss options.
With the agreement of the sail maker we decided;
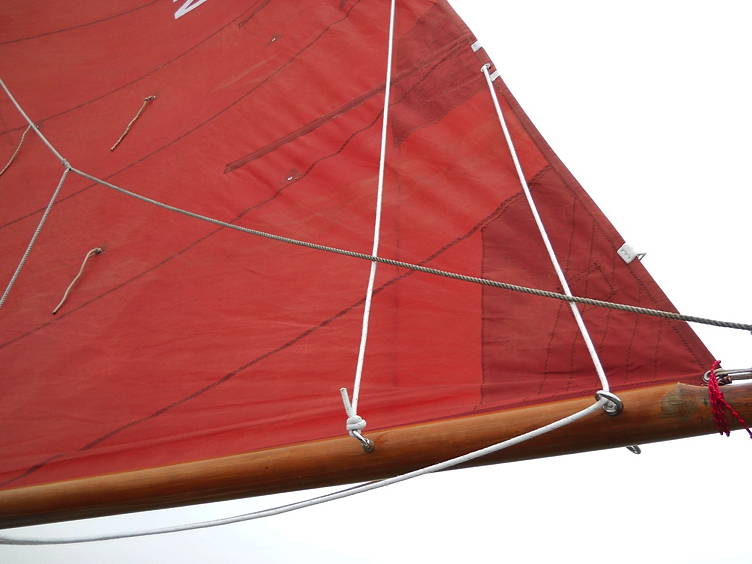
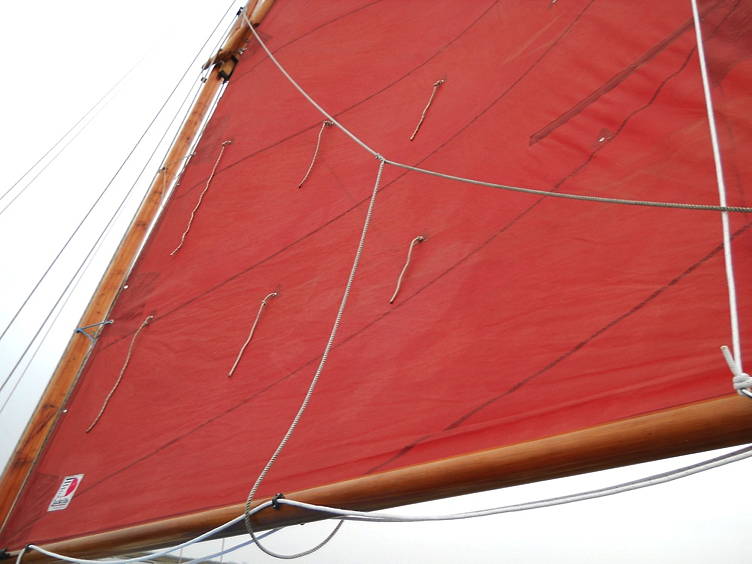
To put the second reef tack where we had marked the sail. To put the second reef clew 7 inches above where we had marked the sail to kick the boom up 7 inches. To put the first reef tack mid way between the tack of the sail and the second reef tack To put the first reef clew at a point which would kick the boom up 4 inches. We would have 4 reef points set in triangles of sailcloth starting 12 inches from the luff for each reef band. To expose the leech line at each reef clew and fit a little cleat so we could adjust the leech line when the sail was reefed.
The sail maker did what we agreed!!! He made quite a nice job of it.
Trying the sail for fit. One thing I have learned over the years is that while it is very easy to make a hole in a boat, making a hole in a boat go away in a strong, permanent and invisible way can be very difficult indeed. So before rushing in with drill and fittings we rigged the sail, stretching it out on the spars with lashings so we could see where the boom fittings would have to go. We marked the boom with sticky tape for the positions of the reef clew fittings. We measured how far the gooseneck extends inside the boom and put a bit of tape here. It will be important that the bolts securing the cleats do not foul the gooseneck.
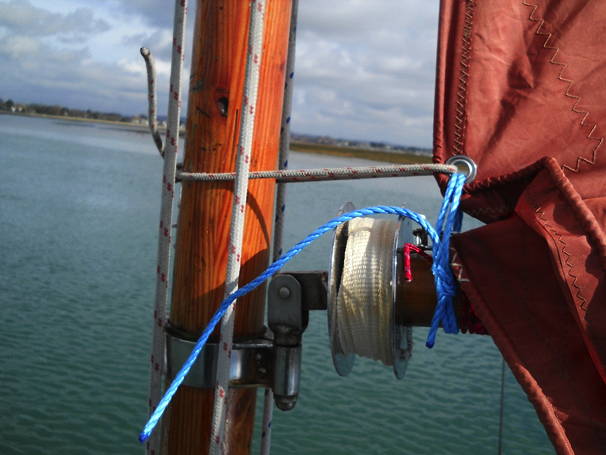
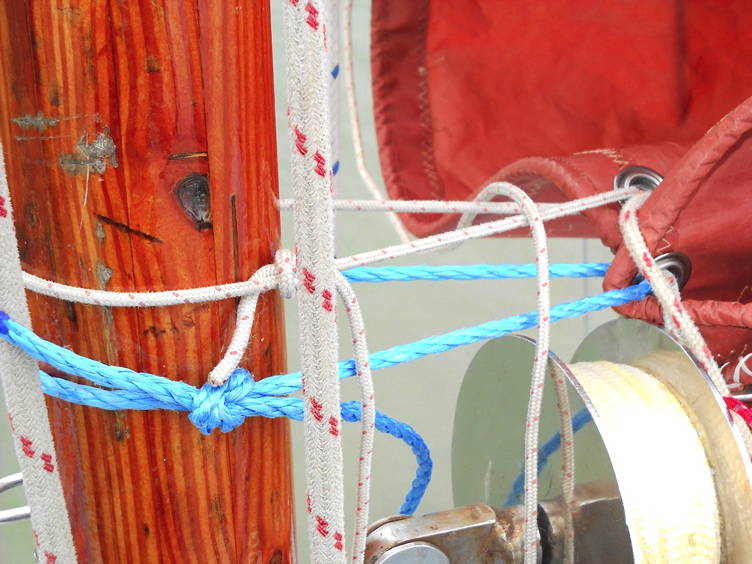
Lines around the mast and boom pulled the reef tack into it's intended position
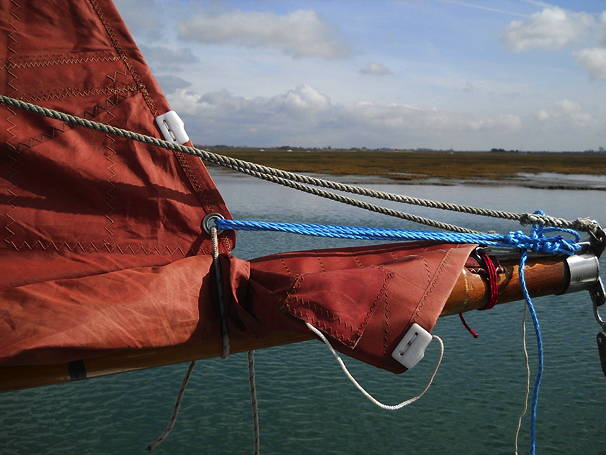
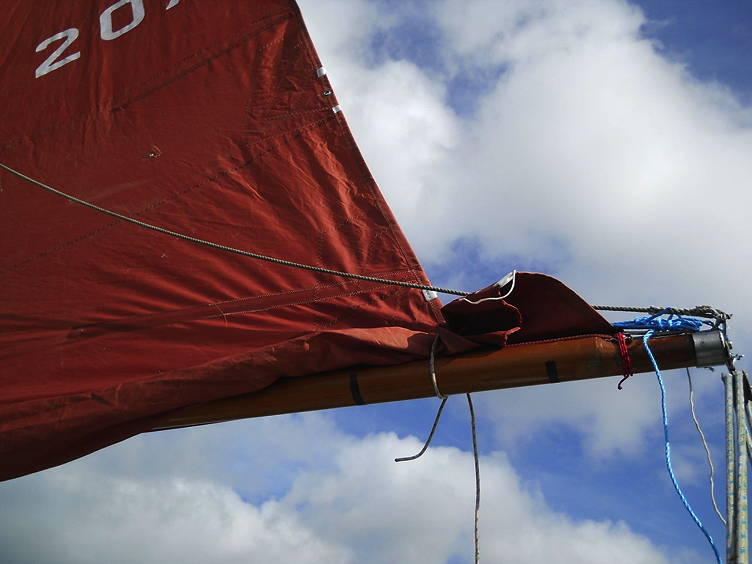
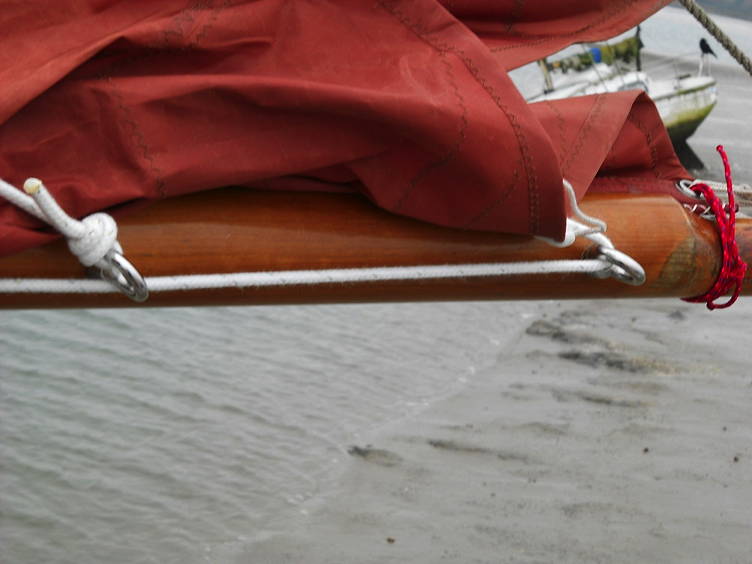
A similar setup on the clew end. The blue outhaul was rigged as a multi part tackle to tension the foot of the sail. The leech line cleat above the reef clew allows us to adjust the leech line when reefed. I've seen sails fitted with leech lines but no means of tensioning them when reefed.
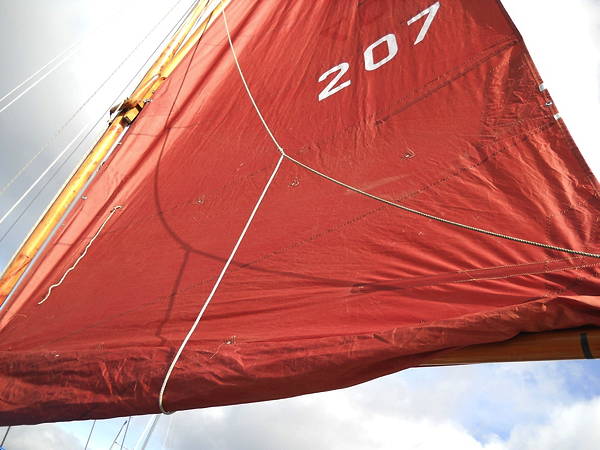
The gurt (crease) from tack to head simply means the peak halyard is too tight for the wind strength and in the gusts it disappeared. The radial gurts around the reef clew are a bit disappointing but similar to other sails I have used. The leech of this sail is very tight. It was cut with deep hollows between the battens. This prevents the leech from fluttering but doesn't give the air a nice fair exit.
To determine the point to place the boom fittings we eyeballed a line which bisects the angle between foot and leech, added 2 inches as a margin for error and stuck a bit of tape here.
Choosing reef clew fittings There are lots of options here which vary in cost, utility and complexity.
What I did on my Mirror was to screw an eyestrap on one side of the boom and a cheek block on the other. The boom is square(ish) and wooden. This works well.
The Wayfarer has a round hollow aluminium boom. This was going to make the cheek block option more complicated so I riveted eye plates onto the sides of the boom and used these as fairleads for the reef pendants. This also worked well.
Traditional gaff rigged boats use wooden battens with holes fixed along the boom known as bee blocks through which the reef pendants pass. For a while this seemed a favourite. I was a bit unsure about the best timber to use as they would take a lot of chafe from the reef pendants and potentially wear quickly. Any varnish applied would soon disappear so a very rot resistant timber would be needed. Building them with bronze or tufnol sheaves was possible but didn't particularly appeal.
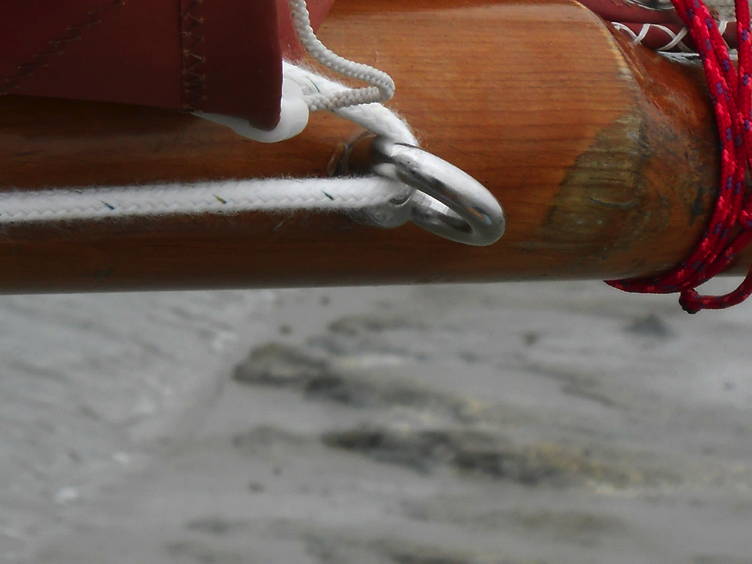
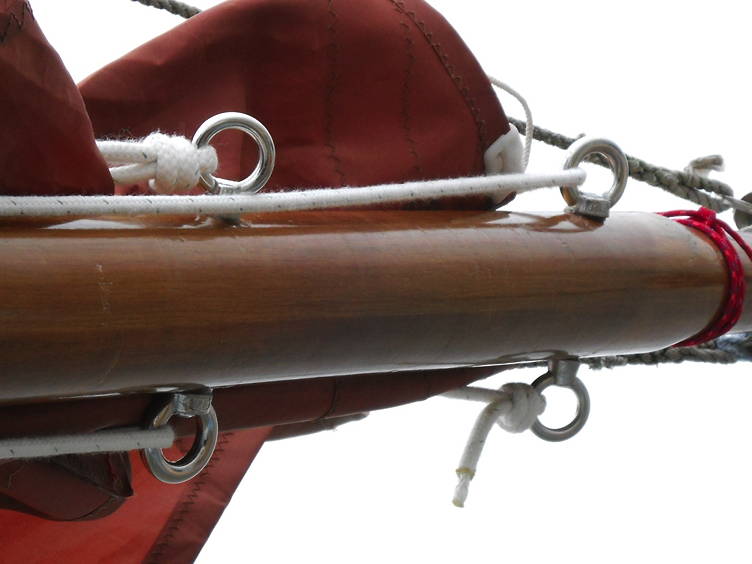
In the end we decided to bore a hole through the boom, push an eyebolt through it, screw an eye nut on the other end and use these as the anchor point for the reef pendant end and for the fairlead. I think this approach has an elegance in it's simplicity. The loads are fed evenly into the boom and if the hole is not 100% square it shouldn't make too much difference. I only hope it works.
Other boom fittings
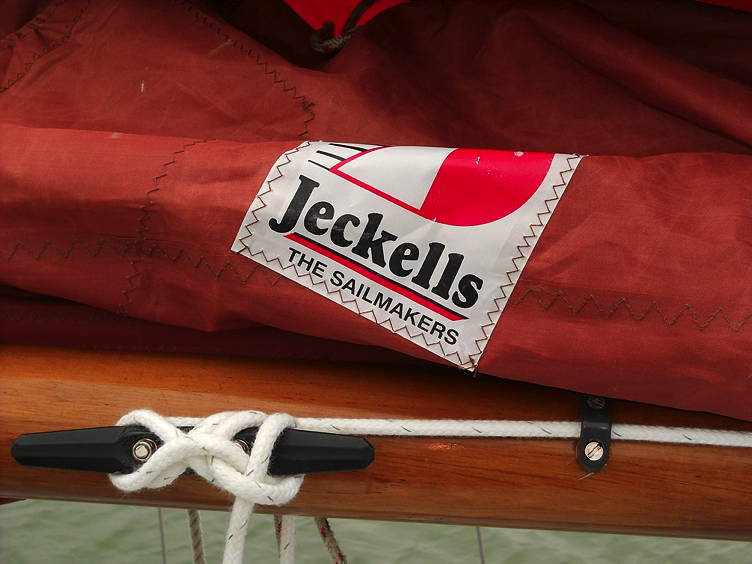
After some disappointment with clam cleats and cam cleats we decided for a seagoing vessel horn cleats were the way to go. We found some very beautiful gunmetal cleats at the local chandlery and after enquiring on the price decided on the plastic version. The mounting hole spacing was the same so we could always change our minds later. The mounting holes were 6mm diameter.
On the Wayfarer we had 2 fairleads along the boom for each reef pendant. One goes in the middle of the boom to prevent the pendant from hanging down and garrotting the crew in an accidental gybe and one goes near the cleat so the reef pendant cannot fall out of reach. We decided to copy this onto the Westerly with some plastic fairleads secured with wood screws . The reef pendants are 8mm braided polyester which seemed a good compromise between ease of use and bulk. Sarah found some horrible multicoloured rope which I didn't much like so we got white instead.
For the reef tack fixing we have always used a simple lashing. Two strings are fixed through the reef tack, one passes around the mast, the other around the boom.
Fitting up the boom
Hovever you attach fastenings to a wooden spar someone will tell you you've done it wrong. Glue the bolts in and you're risking crevice corrosion of the stainless steel, leave them loose and the bolt will work in the hole, chew up the paint, varnish or whatever you put down the hole and encourage the spar to rot.
Personally I prefer the idea of gluing everything in solid to protect the wood. The fastenings can be removed by heating them up to soften the epoxy and unscrewing as normal. The threads usually come out jammed solid with epoxy and unless the fixings are of high value it's usually best to replace them
We had decided through bolting the highly stressed fittings was the best way to go but were unable to get countersunk bolts for the cleats long enough so had to use studding instead. This brought up the issue that the countersink in the cleat would not be properly filled. We decided to fill the countersink with epoxy and tighten a plain washer down with a nyloc nut. As we havn't got a drill press it seemed unlikely that the holes would be square enough to take a cleat at both ends so we would stagger the cleats. As it happened neither of the holes were drilled very square but the hole spacing on both sides of the boom matched the cleats and we were able to bolt the cleats back to back.
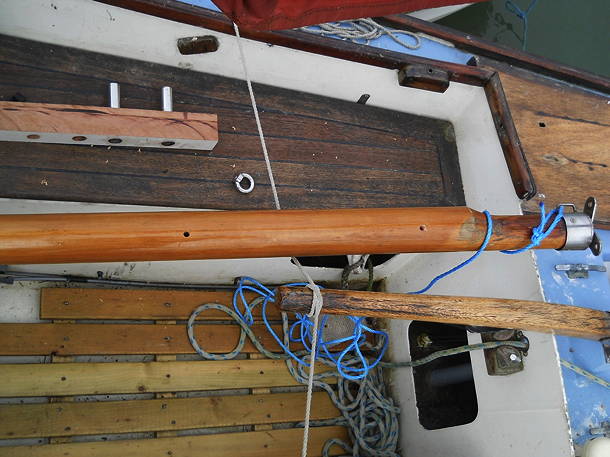
The boom showing the two holes drilled for the eyebolts. We used a brace and bit drill which gives a nice clean cut. As I suspected the boom is hollow, a good reason not to use wood screws.
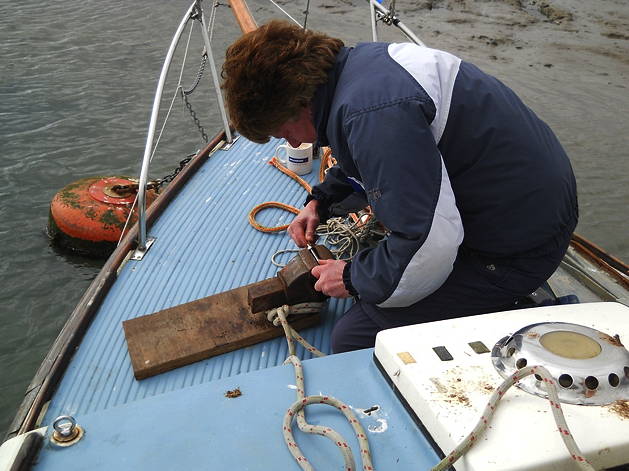
The eyebolts were slightly over length. Sarah threaded a nut onto them and clamped the vice down on the nut. The eyebolt was cut and filed smooth. Removal of the nut tidied up the thread so the eye nut would screw onto it easily.
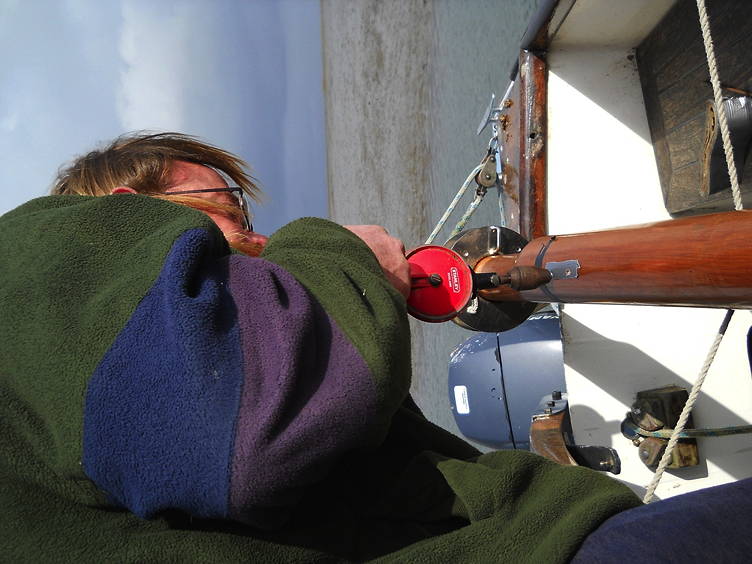
Cliff making a hole for the cleat. He could have drilled it straighter. The black sticky tape shows how far the gooseneck extends inside the boom.
We built the boom up dry, disassembled it, mixed up some epoxy, carefully anointed the holes, the bolts and screws and reassembled it all. The fairleads and cleats were intended for a flat surface but a bit of epoxy in the gap filled it up.
The alignment of the eyebolts is significant. On the “anchor†side the eye should point straight for the reef clew, on the fairlead side the eye should bisect the angle between the reef clew and the boom. I think we got ours somewhere near.
Shakedown Cruise
This took place on the May bank holiday and the weather was near perfect. The wind got up for a while and we had to put a reef in the main and later furl the jib (our boat is cutter rigged, we kept the staysail set). We were almost becalmed for a time and the wind did a full 360 degree shift then settled back to the southerly we started off with.
Sail shape Fairly early on it was obvious the 1st reef tack roband was too tight and was pulling the sail very flat at this point. It took a couple of adjustments to get it right. We used an 8mm rope loop with the two ends tied together with a fisherman's bend, more secure than a reef knot.
One of the characteristics of the gunter rig is that the spars bend as the wind builds, much more than a masthead rig which is held fairly solidly at both the masthead and at spreader height. The gaff and mast are designed to flex in much the same way as a fractional dinghy mast and pull some of the draught out of the sail to depower it . As we approached the point where it was time to put the first reef in it was clear the mast was bending as designed and the roband for the first reef tack was pulling the sail rather flat at this point. We could even this out by adding more robands in some of the existing lacing holes or not worry too much and just take this as an indication that any more wind and we'll put a reef in.
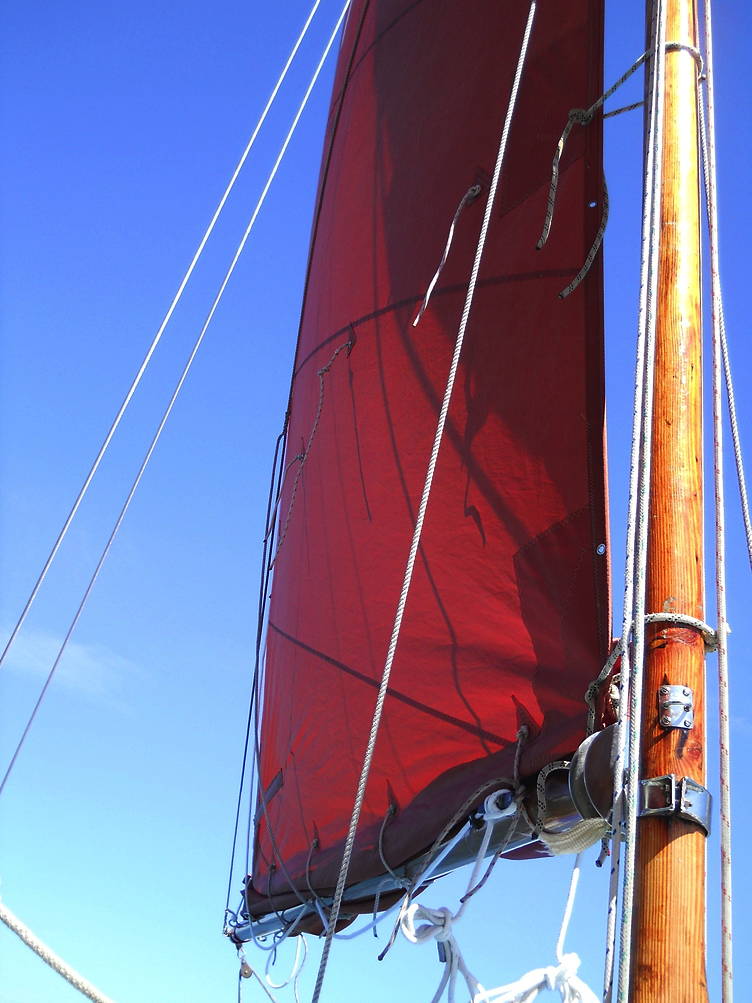
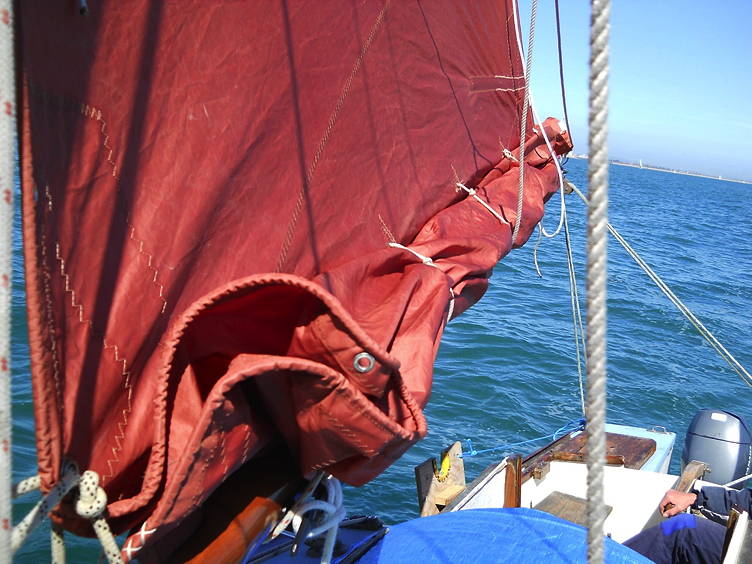
The leeward side with a single reef.
And the windward side. The sail batten lies parallel with the foot of the sail. The 1st reef kicks the boom up 4 inches. Sarah's hand suggests helm balance is under control.
We did put the second reef in but without enough wind to justify it's use can only say it seemed pretty good. The 7 inch kickup of the boom gives a small additional reduction in area when compared to the roller system. What we noticed was the way the tumbler at the gaff jaws was held firmly against the mast. The geometry of the system must have altered. Hopefully this will continue in stronger winds.
Ease of use
After sailing smaller boats with their home made slab reefing the standard Westerly system was a struggle and a bitter disappointment. The frustration Sarah felt by her inability to pull in a reef saddened me. It also meant that sometimes during my off watch I would get dragged out of bed to adjust the sail area.
After pulling in a slab reef on the Westerly for her first time I got a big smile. Little things can make a simple guy very happy. Sarah got the reef clew tensioned just fine by hand without needing the handy billy to haul it home. The generously sized cleats accommodated the many turns of rope she likes to put on. 8mm rope is easy and comfortable to grip by hand.
So what wasn't right?
The reef point closest to the reef tack coincided exactly with the reef pendant cleats. If starting again I would move the reef point forward a bit.
Our Wayfarer's gooseneck pin was square which stops the boom from rolling. The Westerly doesn't have this and the boom tends to forget which way up to lie. Once everything is hoisted and tensioned it isn't an issue. I think we will probably live with it as it is.
Medium term test
The reefing system served us well over our 4 week summer cruise when we completed about 500 miles under sail. I am planning no changes at present. It looks purposeful, effective and strong.
Now that we don't have to roll the boom to put in a reef, a conventional kicking strap arrangement is possible. We had not sailed this boat with any type of kicker before but I felt the boat needed one. Part way through our summer cruise we fitted the boom with another eyebolt and eyenut and assembled a kicker from stuff we already had on board.
These boats need a kicking strap to work properly. This is the Mk1 we concocted in Portland. I will probably re work it to prevent the boom from rolling
Cliff Martin
Westerly 22 Beroe.
